
If you’ve ever looked into starting photography, chances are you’ve probably noticed that photography equipment is expensive and typically requires some steadfast budgeting skills to allow for the average person to afford it. Even older used cameras still sell for hundreds, if not thousands, of dollars used.
Read more: Photography on a Budget: Utilizing the Three Foundational Skills.
So how is anyone meant to get good, quality pictures if they can’t afford the equipment?
Well, fortunately, just because a camera is more expensive doesn’t mean that it’s better. Let me show you what I mean.
Let’s take a look at two example photos below. One of which was taken with my DSLR Canon camera, and the other was taken with my iPhone.
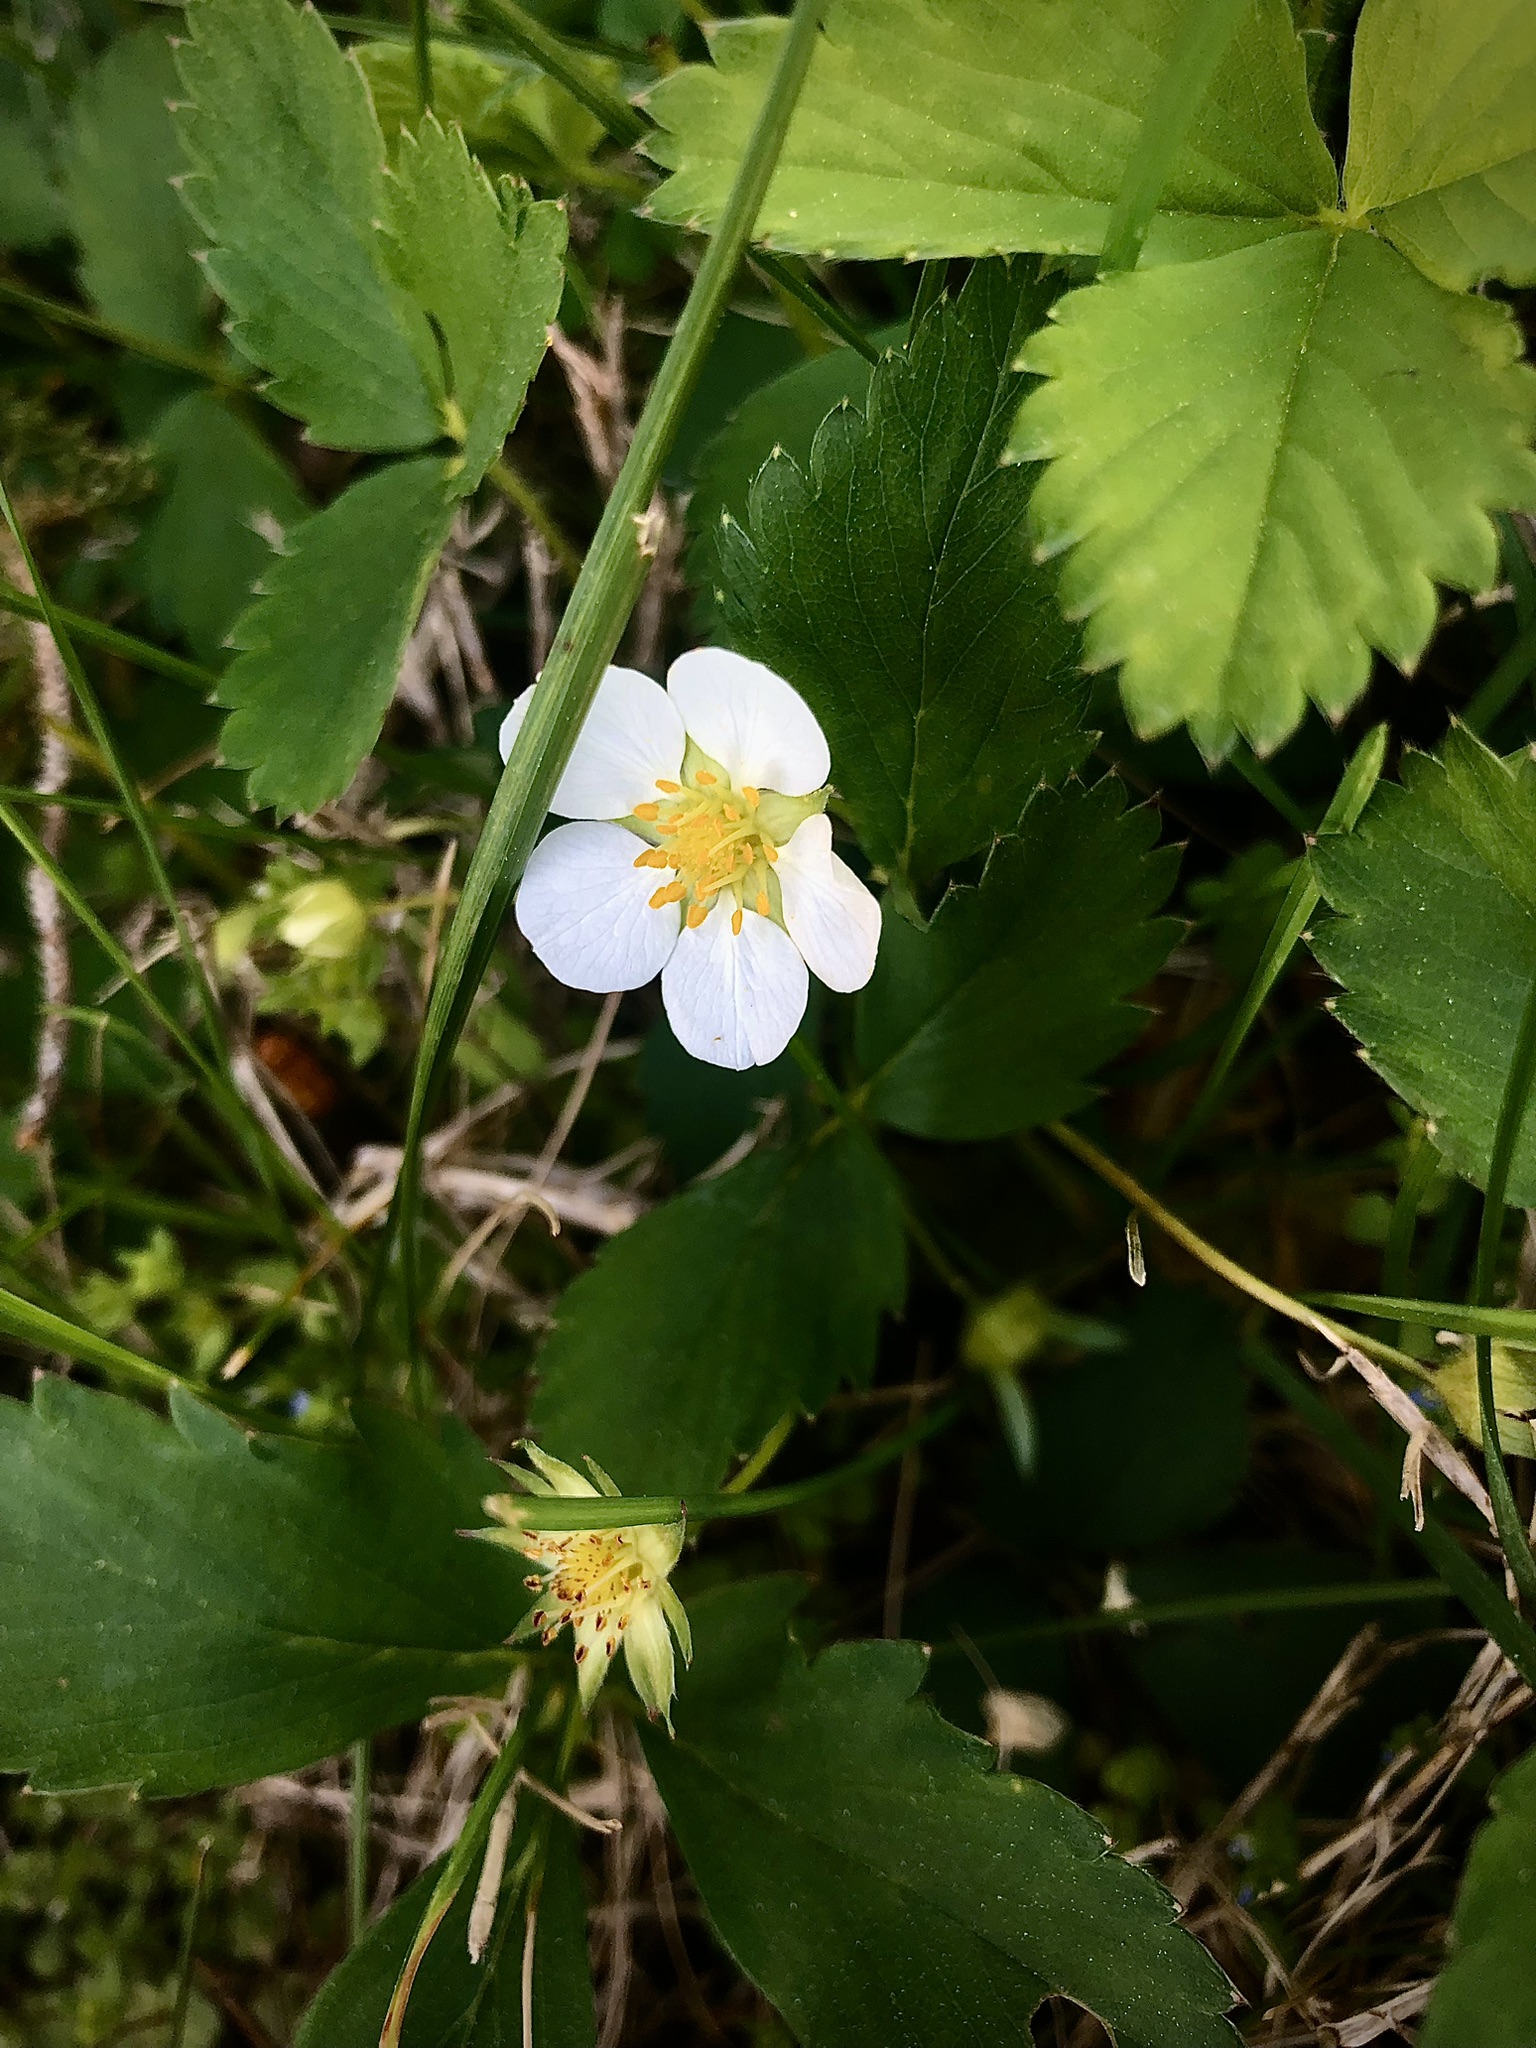

Can you tell which one was taken with which? Well, if you said that the photo of the flower was taken with the DSLR, you’d be wrong. If you said that the cat photo was taken with the DSLR, you’d also be wrong! Both of these pictures were taken with my iPhone’s back camera; neither was done using a professional camera. Yet, arguably, they are both good pictures.
What many people don’t realize, and I was in this group myself for a long time, is that the camera itself can only take you so far. If you are able to master the fundamentals of photography, no matter your medium, you will be able to produce quality pictures on a budget.
Without subjecting you to a full course on the fundamentals of photography, I think it would be more beneficial to give you a general overview of the top three elements that comprise a good photograph.
Composition
Lighting
Editing
Now, these top three elements are, by no means, the golden standard. These are simply the top three that I utilize myself when I try and find a photo, and by implementing them yourself, you will likely see your photography skills improve tremendously.
Composition
What is composition? Well, I like to think about it like this:
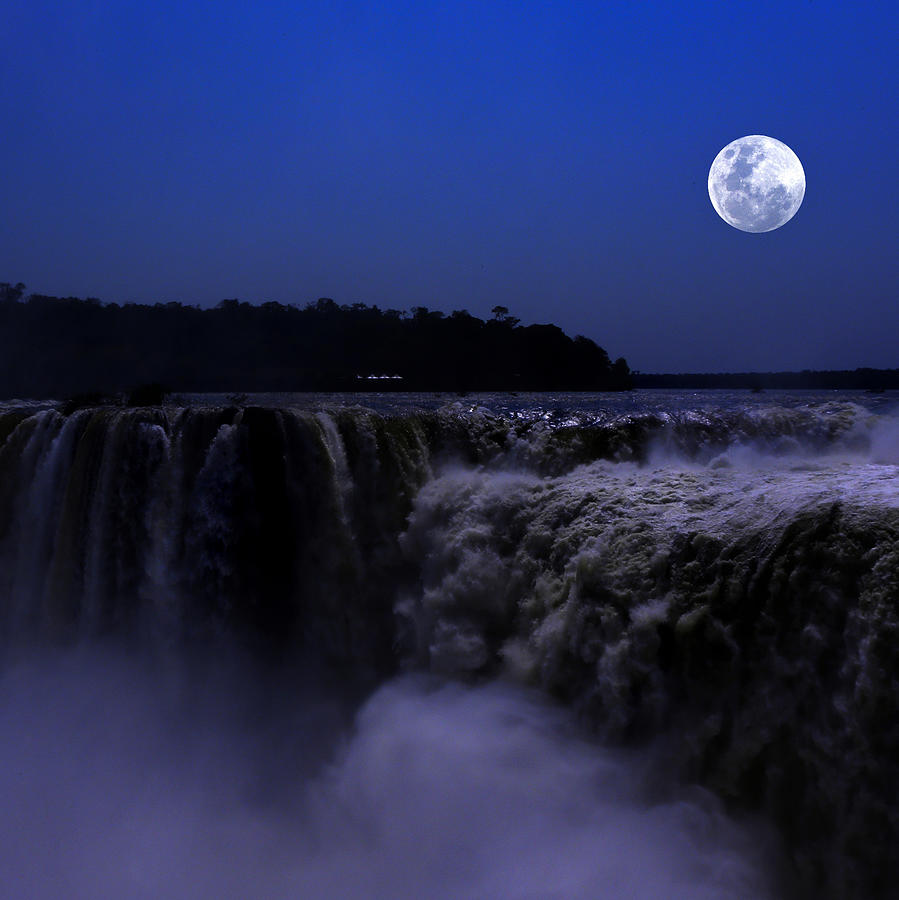
Imagine for a moment your perfect photo. This can be one that already exists, or maybe it’s one that you’ve envisioned for yourself that you hope to capture someday. Now, I want you to picture what the boundaries of that photograph have and slowly move inward until you reach the center. If it’s a photo of a waterfall, maybe there’s a bed of reeds on the outskirts and a full moon just overhead of the water.
Simply put, composition is just the arrangement and organization of all elements in your photography. In your perfect envisioned photo, there are elements of composition you find pleasing to a degree beyond the standard. Trying to determine what precisely these components of composition are will not only help you to find your own personal style of photography, but also allow you to be cognizant of composition moving forward.
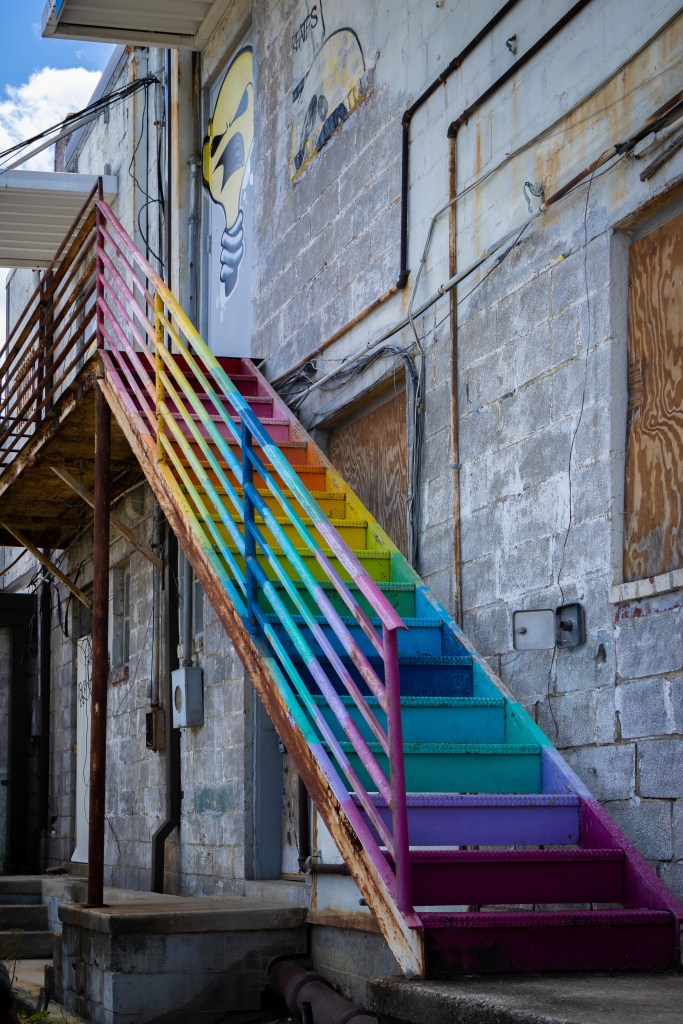
Personally, I find that using angles and geometry as a framing device/subject tends to make interesting and unique photos. I also appreciate empty space as a harsh frame for the subject. These are a few example photographs that I took with these types of compositional tools in mind.
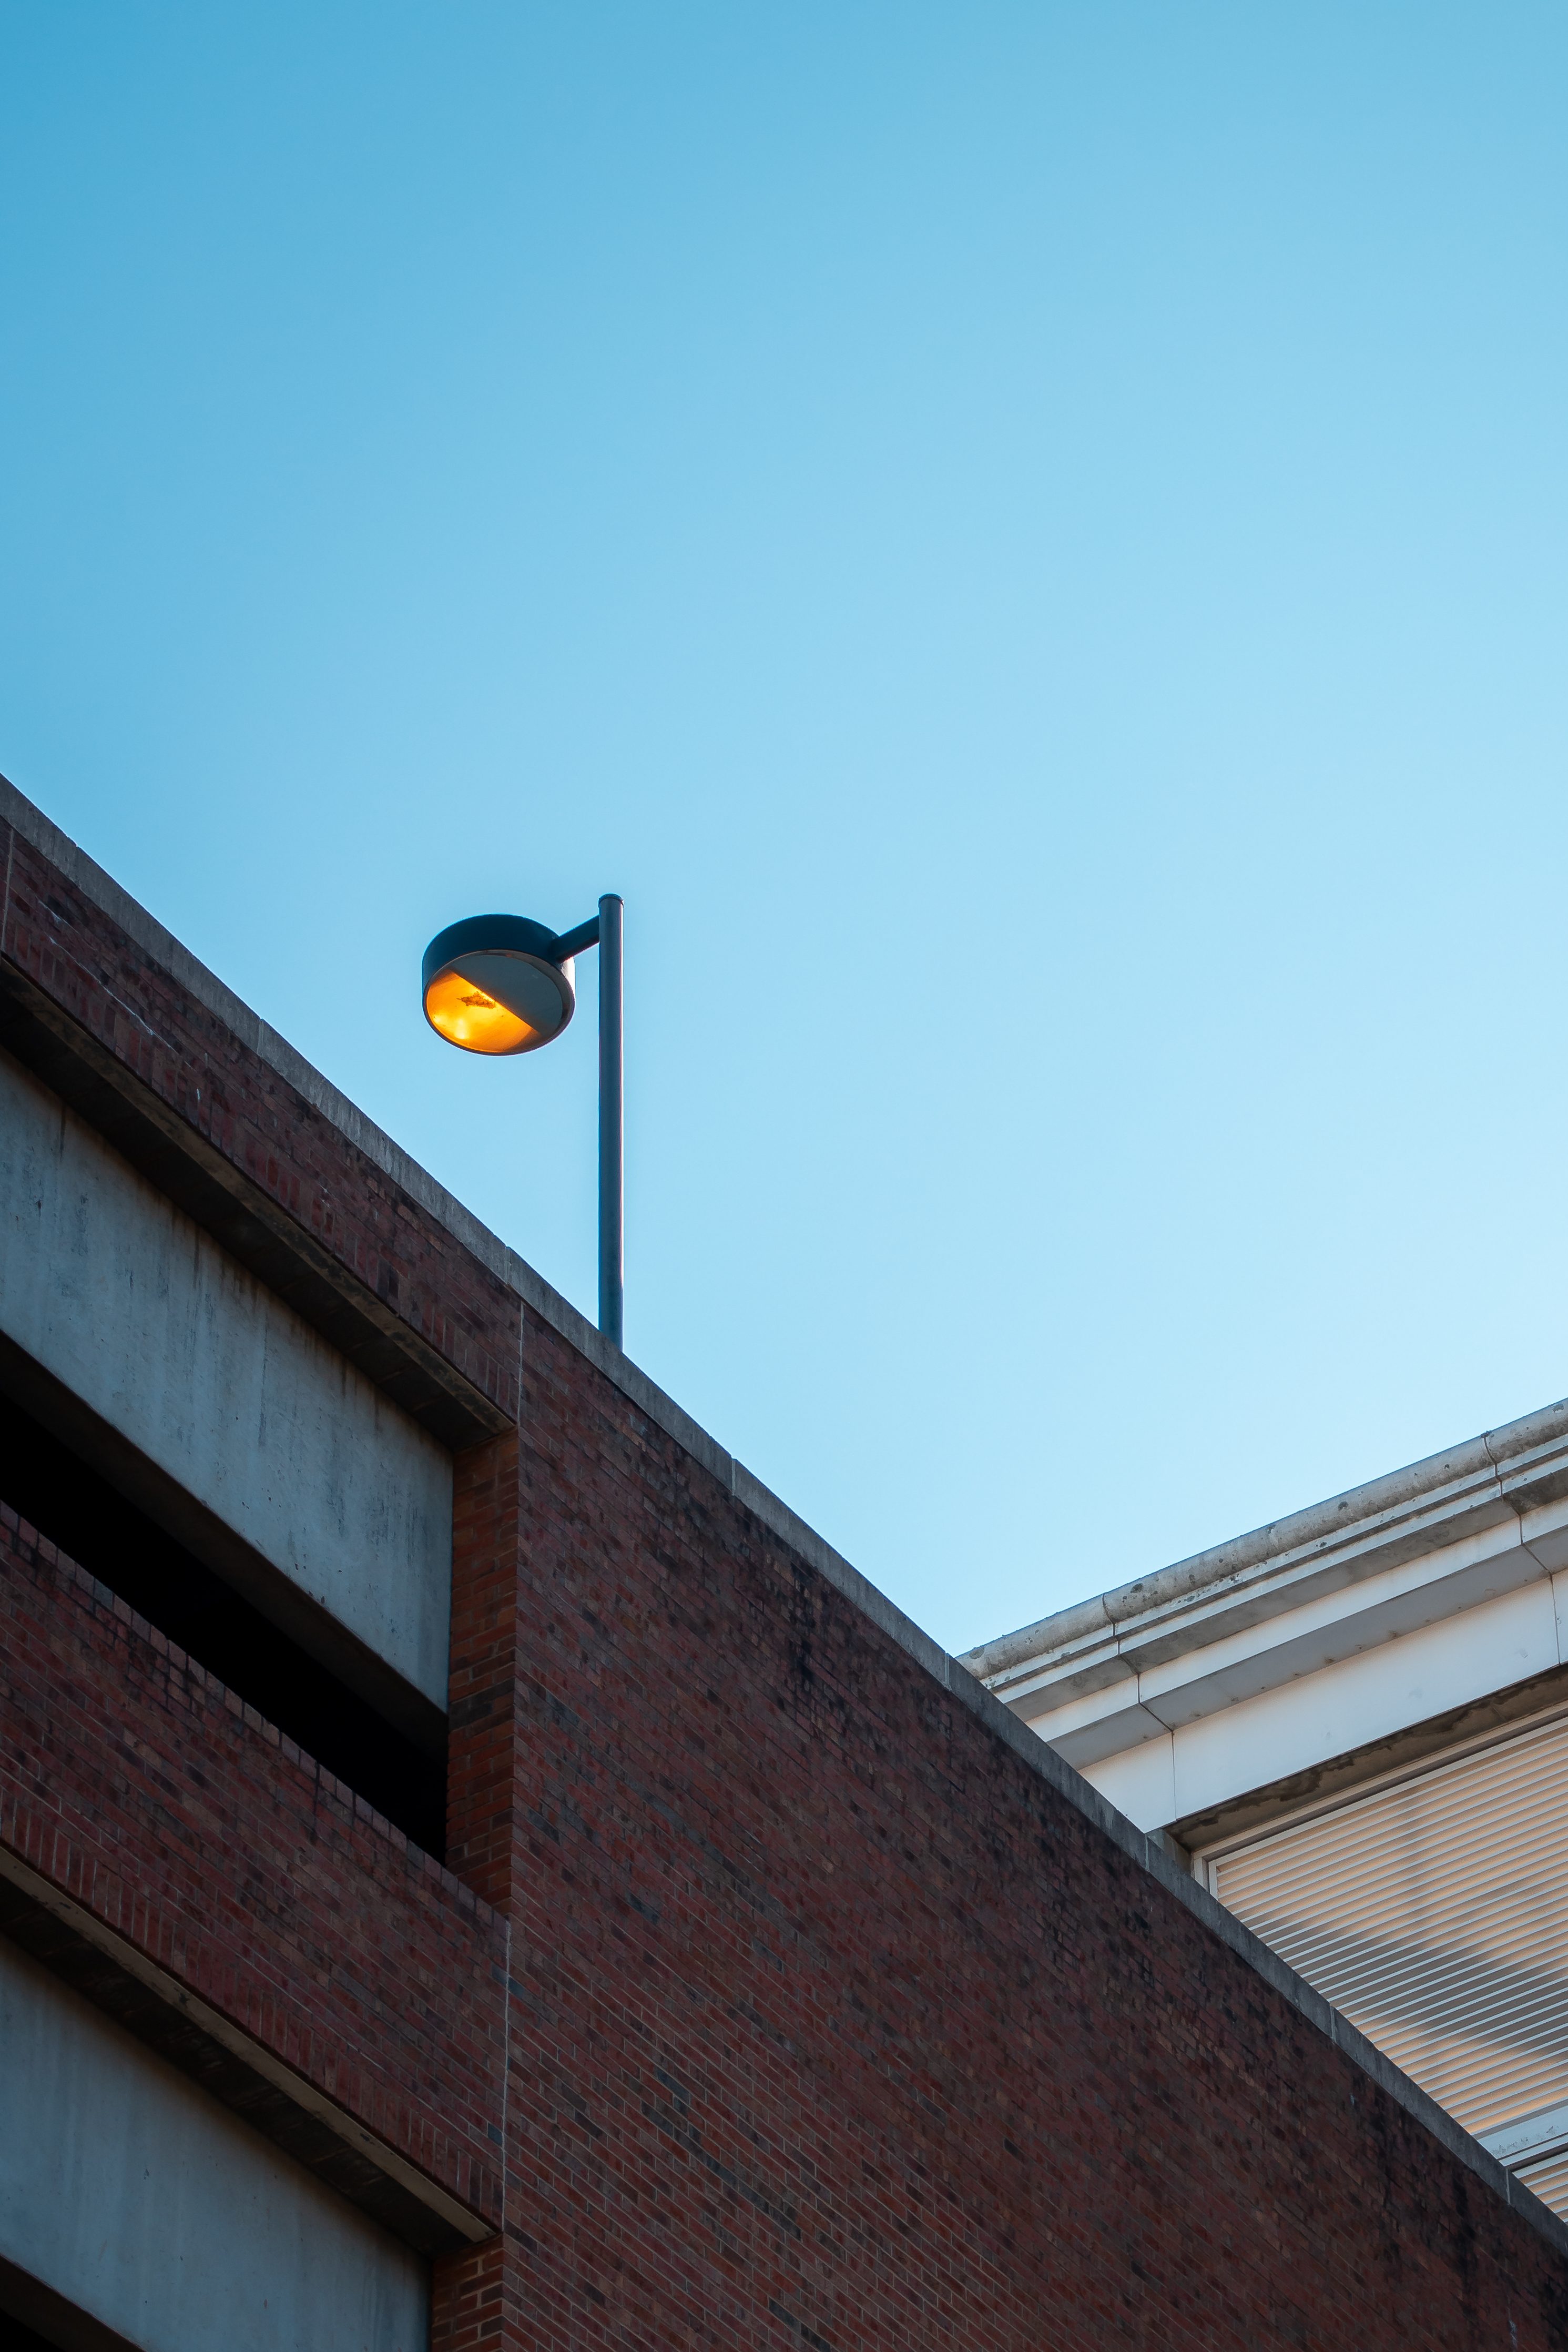
Now composition is an immense collection of ideas, tools, and other miscellaneous helpful devices. You can use color for composition. You could use contrast. The sky is the limit! The important thing is that you find what types of composition resonate with you. After seeing the types of composition I like, you may find yourself disliking them, which is valuable as well! All for the sake of developing your own style, and further, developing your photography skill as a whole.
One great beginning way to better compose your photographs is to think about what is included in your photo. When I first started photography, I wanted to include EVERYTHING in my photos. I always thought, why shouldn’t I zoom out as far as I can? After all, it only adds more to look at. Well, believe it or not, that can actually be a bad thing. One of the greatest tips I ever learned about zoom was to do it in reverse. By starting at full zoom on a subject and moving gradually backward, you can fill the peripheral with enough to keep it interesting without becoming distracting. Here are two examples of a photo I took at different zoom levels. Focus on the “clutter” around the image’s borders.
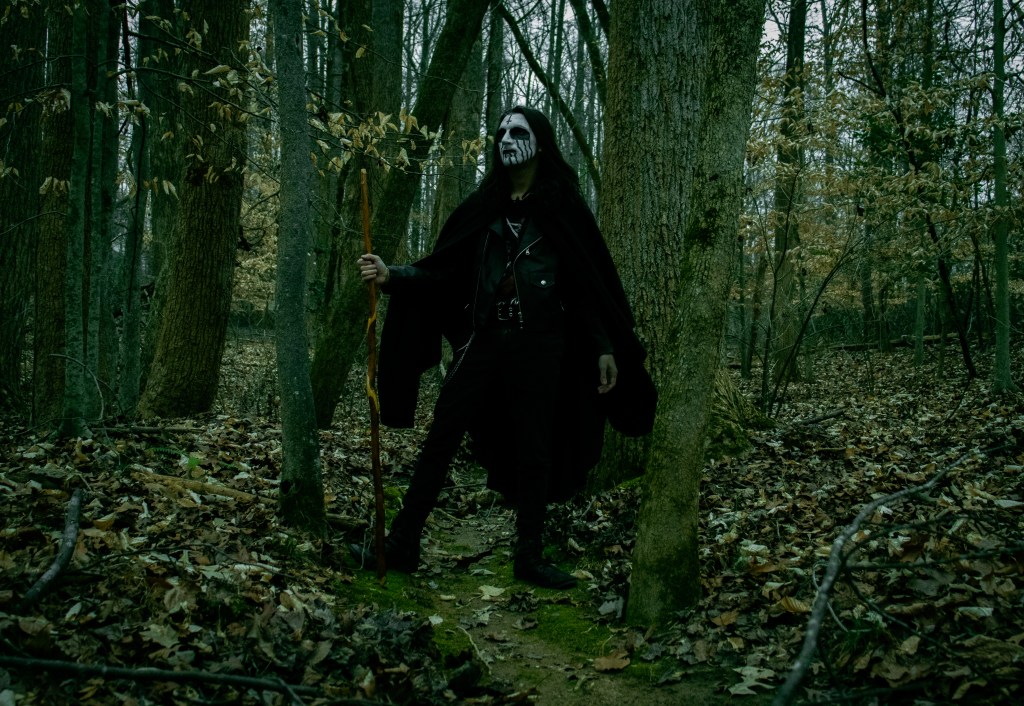
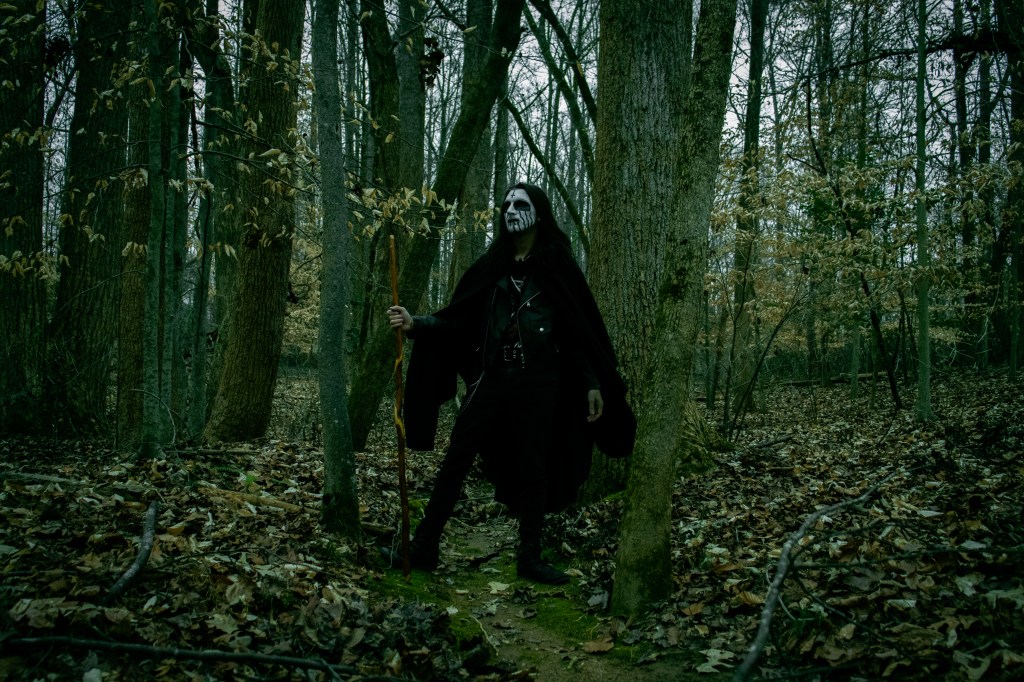
Notice how, on the left, the subject is the central focus of the frame at a slight zoom. On the right, there are many distracting elements that draw your gaze away from the subject of the photo.
And, I will be honest with you, composition is also one of the hardest foundational elements of photography to execute. To this day, I still think I have a long ways to go before I truly master my compositional skill, and I likely will long into the future. But, as the age-old saying goes, practice makes perfect. Don’t let it stop you from developing your skills, and taking great pictures! Even with a minimal amount of compositional awareness, your photos will begin to look and feel better to you, and others.
Lighting
Unlike composition, lighting is a skill that is dependent on your environment when taking a photo. Without light, there is no photo.
Now, fortunately, we all have with us one of the greatest lights that we could ever hope for.
Sunlight!
There is, and never will be, another source of lighting greater than the sun (and, in some cases, the moon, depending on the type of photography you are shooting for.) Flash, studio lights, diffusers, and reflectors are great to make up for the lack of sunlight, but can never replace it. Understanding how to properly use these and other light sources to your benefit will also help increase the quality of your photos.
Now, I do want to say, before going on, that you absolutely can, and should, use flash, studio lights, etc., if needed! If you’re in an indoor setting, and there aren’t windows nearby, or you simply want to photograph something that isn’t near a window, then definitely use these tools. Sunlight is the greatest source of lighting for photos, but it is not the only source of light. Use whatever you can, or want to use for your photos.
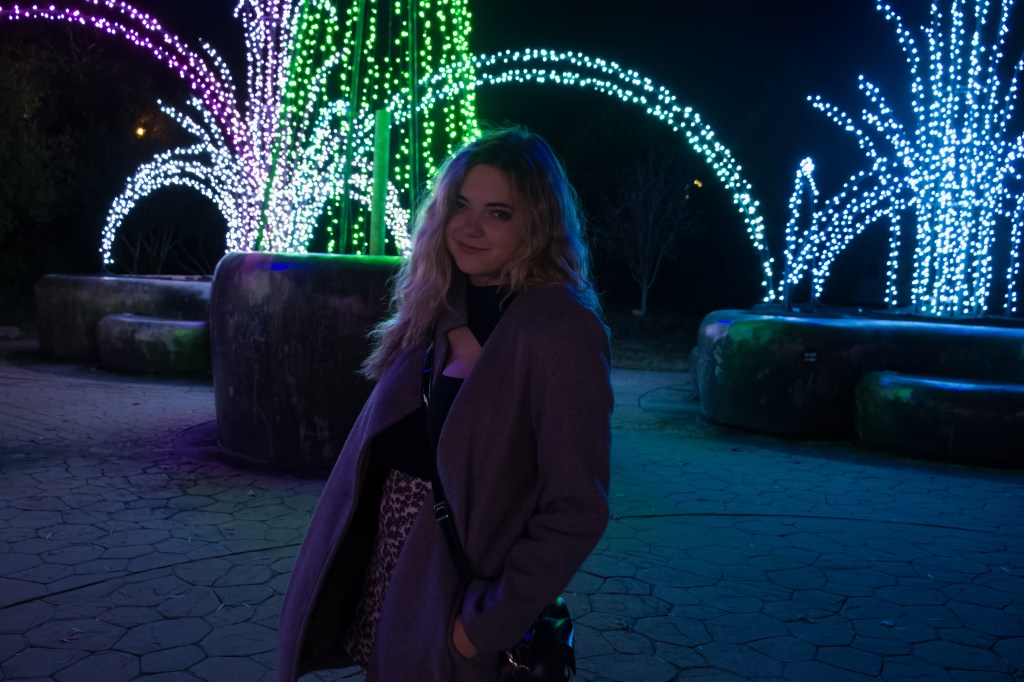
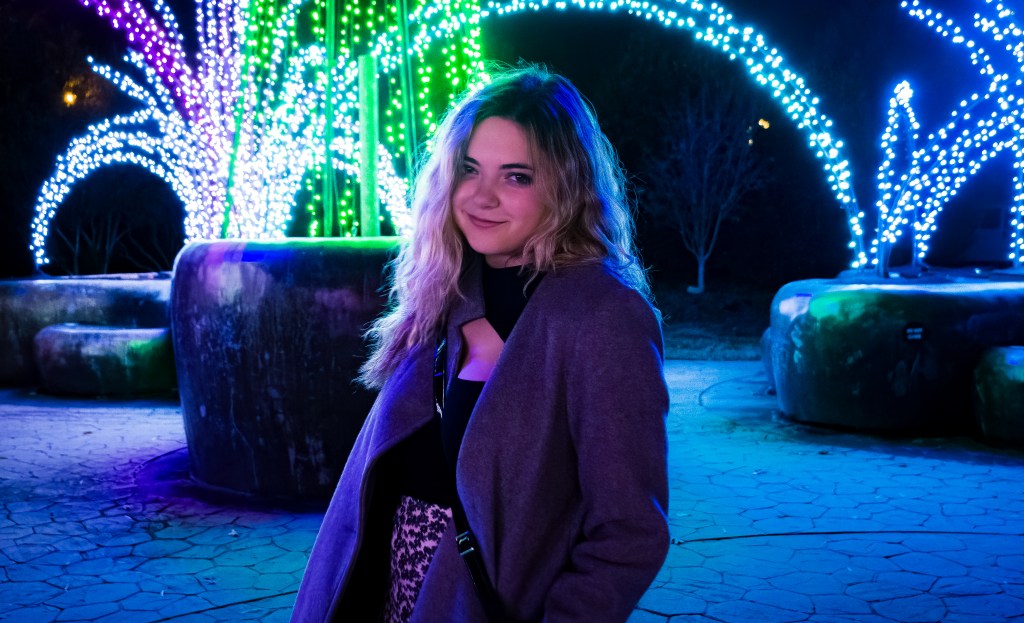
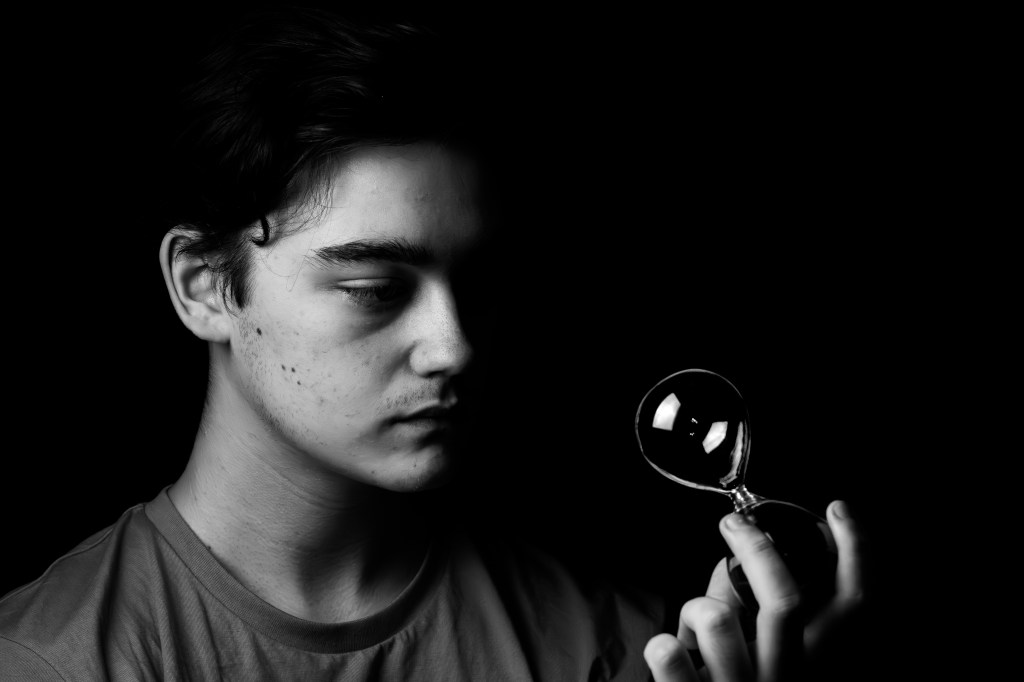
Lighting can be a powerful composition tool and a standalone facet of photography. Using adequate light will ensure that your photograph retains detail and sharpness and is more appealing. Here are some photos where lighting is crucial to the overall effectiveness of the image.
(Click on them to enlarge for the full scale.)
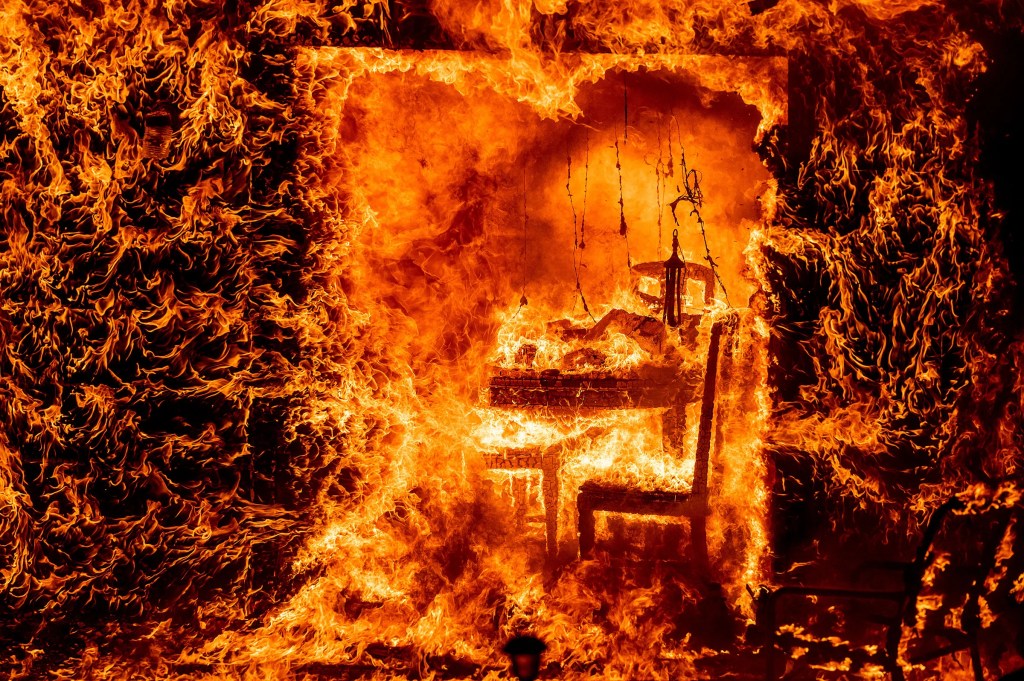
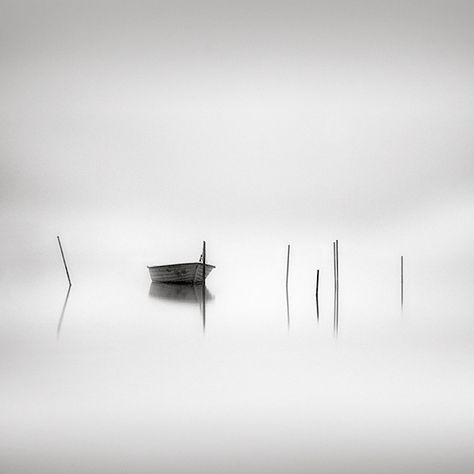
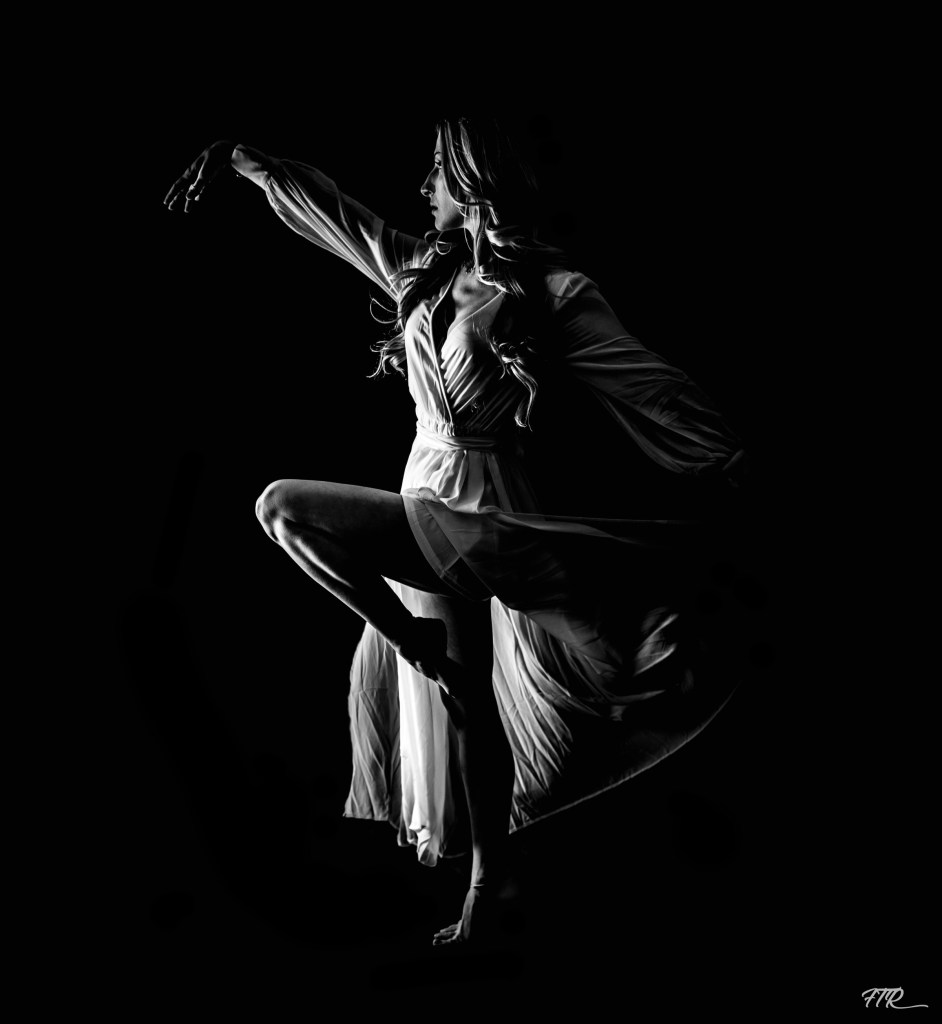
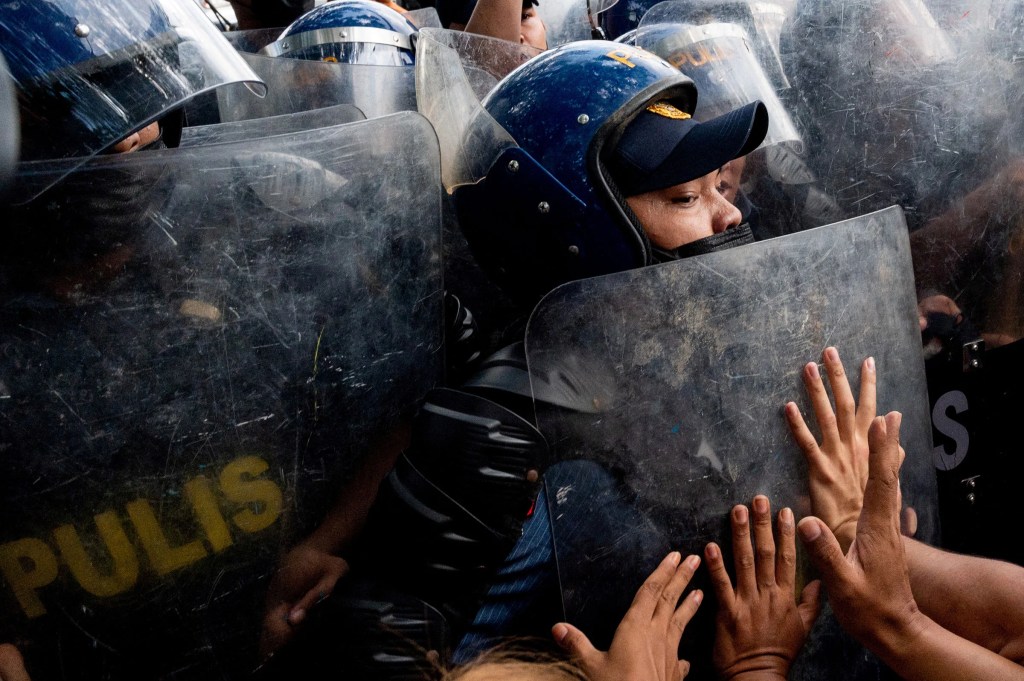
The credits for the following images are as follows, from left to right: Noah Berger—AP, UNLISTED, Bill Sebold, Lisa Marie David—Reuters.
Editing
Alright, hear me out on this one before jumping to any conclusions.
When most people hear about “editing” in photography, they assume it’s a total change of the overall image using a tool such as Photoshop. But editing is actually much different than that.
Editing in photography boils down to any changes that are made to the photograph you have taken after it’s been captured. Examples can include tweaking exposure, white balance, sharpness/noise reduction, hue/saturation, and many others! For most, editing is half of photography. There are very few occasions in which a photo will not need any edits, and even if it could survive without any changes being made, it likely would have been better with them.
Now, there is a reason that I’ve put editing at the last stop of the top three, and that’s because it always happens last. There won’t ever be a time in which editing occurs before composition or lighting, because those two are the foundational pieces that allow edits to exist in the first place. Editing is a great way of correcting errors that may have been made in composition or lighting, too. However, it should be said that if a photo lacks too many of the foundational components, no amount of editing will be able to save it. When I was first starting out, I spent far too much time trying to edit my photos “back to life,” and I can tell you with the utmost certainty that it will not work. Save yourself the time, and recognize that some pictures are just meant to be let go for you to retake in the future.
With all this being said, let’s take a look at some of my photos before and after editing, and see how they were able to benefit from them.


Immediately, you can tell which of the two photographs looks better, just with some minor edits having been made. Neither required an immense amount, but with a few changes to exposure, coloring, and framing (through cropping), these RAW image files were able to have better photos pulled from them than originally existed.
Editing is a powerful tool, but it is also easy to overuse. Here are three photographs, from no edits, to ideal edits, to over-edits.


We can see here how quickly the edits can take over the photo, and detract from an otherwise good photograph. The edits themselves begin to take over, and the image loses its initial charm.
In many cases with editing, less is more!
Application
Well, it is now time to take with you these tips and see your own images begin to transform before your eyes. By honing your skills with the foundational aspects of photography, you’ll soon begin to see that equipment isn’t all that matters and that an understanding and application of these techniques can help to dispel your desires for a super expensive camera.
With that, I say farewell and good luck with your photography.
Brian Hornfeldt is a Greensboro, NC-based photographer and videographer.
You can find more of his work here: https://brianhornfeldt.com/

Leave a comment