
If you thought you could make easy DIY garden beds, I’m here to encourage you to find out that you’re wrong! By that I mean, garden beds are NOT easy to build, but not impossible, and totally worth it. Learn a little about how Pete and I made ours, and how we messed up.
Read more: Not Actually Easy DIY Garden Beds (but worth it!)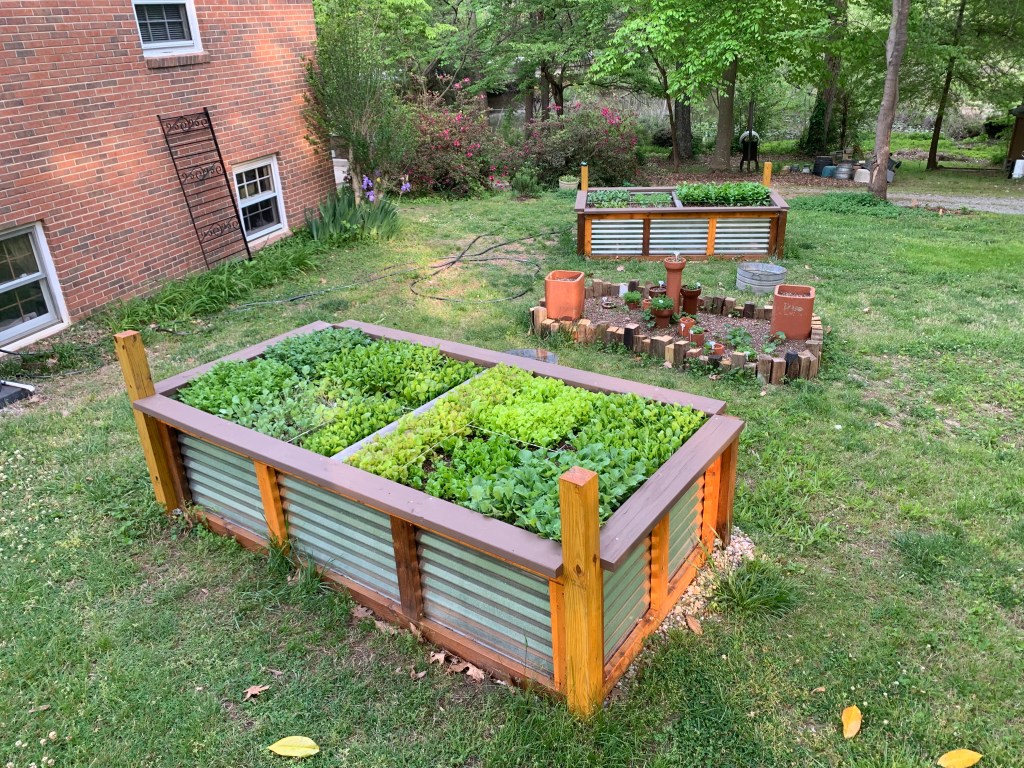
DIY Garden Beds
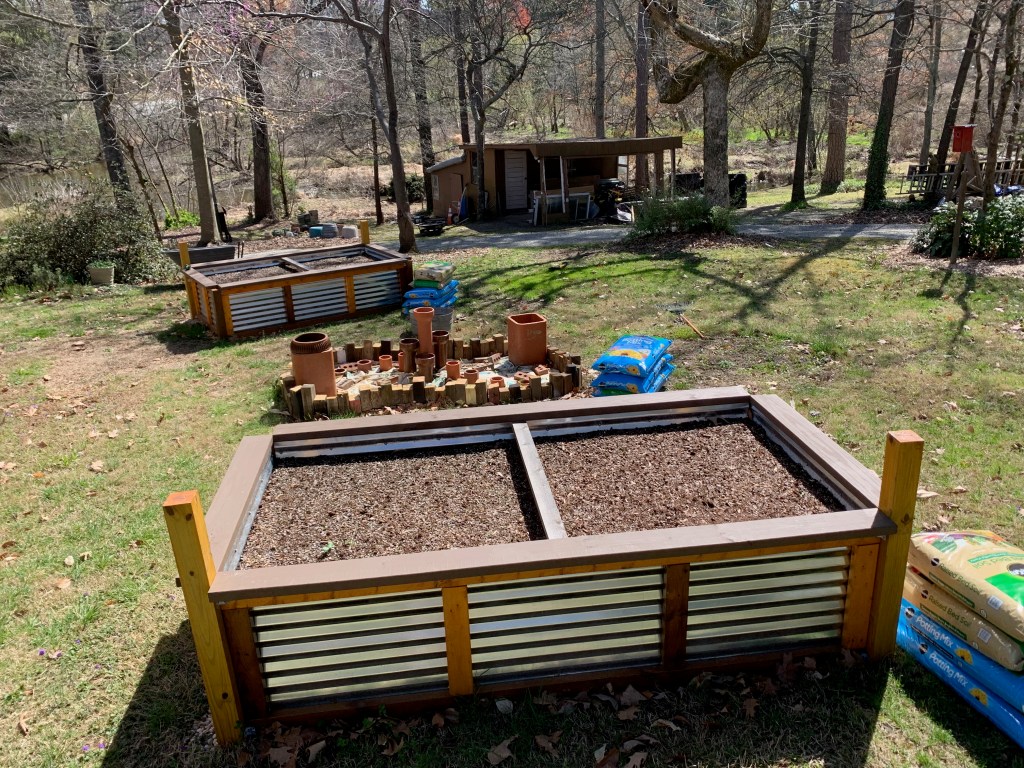
If you haven’t gotten the message yet: these garden beds were NOT easy to make, nor were they fast. We started building them in (like, March?) the first quarter of 2022, and only just filled them with soil in March of 2023. However, they are super long-lasting, beautiful, spacious, healthy; so much so that two older lady neighbors have pestered Peterson to build them replicas for their own gardens. He’s refused, of course, given the disclaimer.
Nonetheless, here are the materials we used and the steps we took, in as concise a list form as possible.
Materials
Most of these materials were purchased, some were repurposed from other projects, and some were scrapped from the “junk yard” that used to be the entire property of the Swamp House due to the former-hoarder-owner whose widow sold the home to Pete.
- 12 total 8ft two-by-four’s
- 24 total not-quite-4ft two-by-four’s
- 4 total two-by-one’s for inner structure support
- 6 total corrugated metal sheets
- 8 total four-by-four wooden posts
- 8 total 8ft two-by-six’s for railings
- 112 total 3in outside screws
- 256 total 2in outside screws (with the seal)
- 32 wooden brackets for the posts
- Wood stain
- Approx. 30 bags of river rocks
- Approx. 30 bags of topsoil at the end of it all
Step-by-step
These steps are summarized based on what needed to happen. We were following the instructions of the YouTube video by SimonSaysDIY. Because of the mistake we made that will be described in step four, we ended up with something a bit different. In other words, the process did not go as smoothly as may have seemed!
Step one. We cut the wood to their respective lengths. We then stained those wood pieces. The only wood pieces we did not stain were the pieces listed in material #3, the ones that would be inside the garden beds. One is near the bottom enveloped by dirt, another on the top sitting above the dirt.
Step two. We built the walls of the bed. Four of the 8ft pieces were cut in half for the short-sided walls of the beds, and the other eight were left 8ft long. The illustration below depicts the structure we were going for originally.
Step three. We attached the corrugated metal. Two of the sheets were cut in half. We measured the exact length of each built wall and cut slivers off the metal to fit it exactly. We then attached them, and found there were still slivers of metal hanging over the wood. We sliced some more off, which brings us to our mistake and what resulted as an additional step.
Step four. Maybe you figured it out based on these steps before we did when building them… Because we attached corrugated metal that was the exact size of the walls, we couldn’t attach the walls to one another! You see, the video we were following allowed for the corrugated metal to be an inch or two short on either side of the walls – that the builder can screw the walls wood-to-wood. Instead, the sides of our walls were metal-to-metal. After many a grumbling and cursing (especially on Pete’s part because he felt he should’ve known better, as he often feels, despite never having built garden beds before), we had the idea of using these scrap wooden posts (#8) with metal brackets (#9) on the corners of each of the sides. We are actually quite glad of this innovation because it means that less wood is exposed to the soil, and thus less likely to rot.
Step five. We then dug trenches in the ground where each of the sides of the bed would be, accounting for the middle un-stained wooden pieces, dumped our river rocks, and used them to level the beds. Pete meticulously leveled each side and corner and resorted to, “good enough!”
Step six. After they sat for months and settled, we actually lifted and moved them again, and added more rocks, then put them back.
Step seven. Finally, we filled them up. Note: we let the compost settle before we added topsoil, and Pete actually added another round of topsoil after the first layer had settled some more. In order:
- Newspaper at the bottom; like two sheets worth of layers
- Logs and bark and sticks, approx. 1/3 to 1/2 of the height of the bed
- Compost, approx. 3/4 to 4/5 of the height of the bed
- Topsoil, the rest of the way
Success with our DIY Garden Beds
I won’t go into detail about the planting, because that’s not what this blog post is about. However, we used magnetic hooks and some plastic “rope”-like material to create dividers above the soil. That way they’d be easily moved if necessary, and didn’t create more holes in any of our beautifully stained wood with nails or screws.
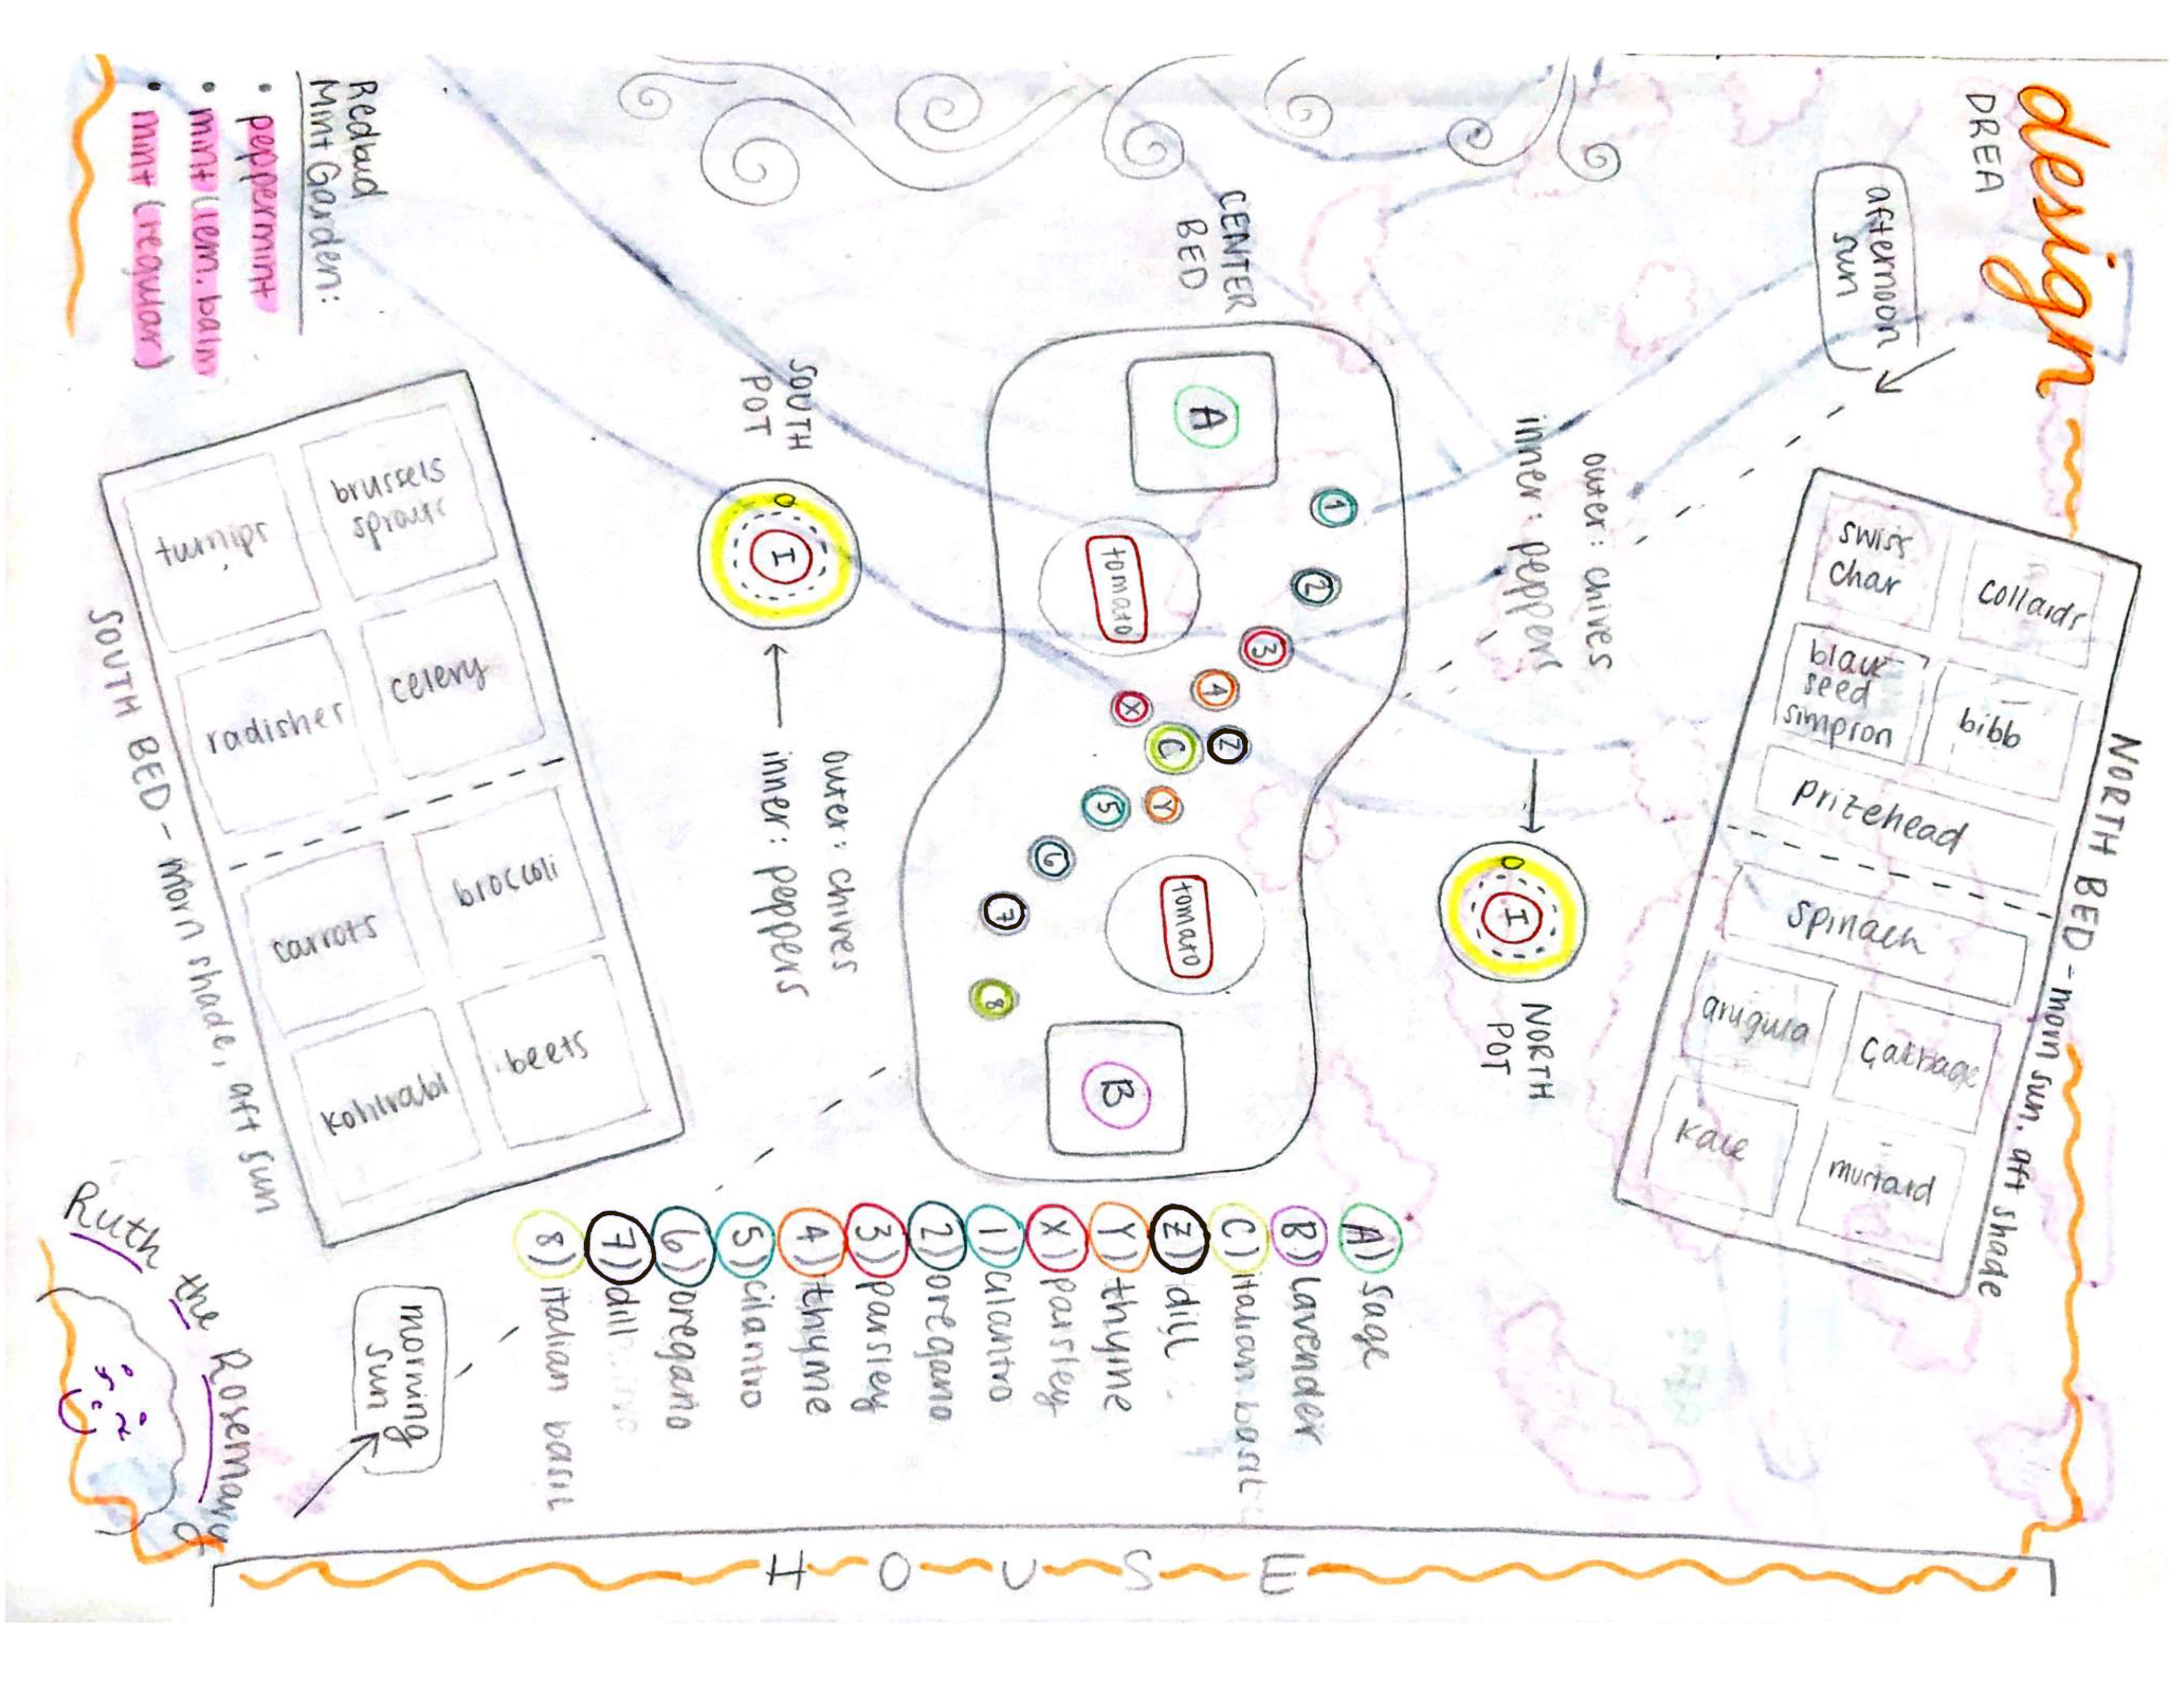
Disregarding our herb garden, as that bed was an entirely different process, our two main garden beds (which we call the North Bed and South Bed) were separated into lettuces and root veggies.
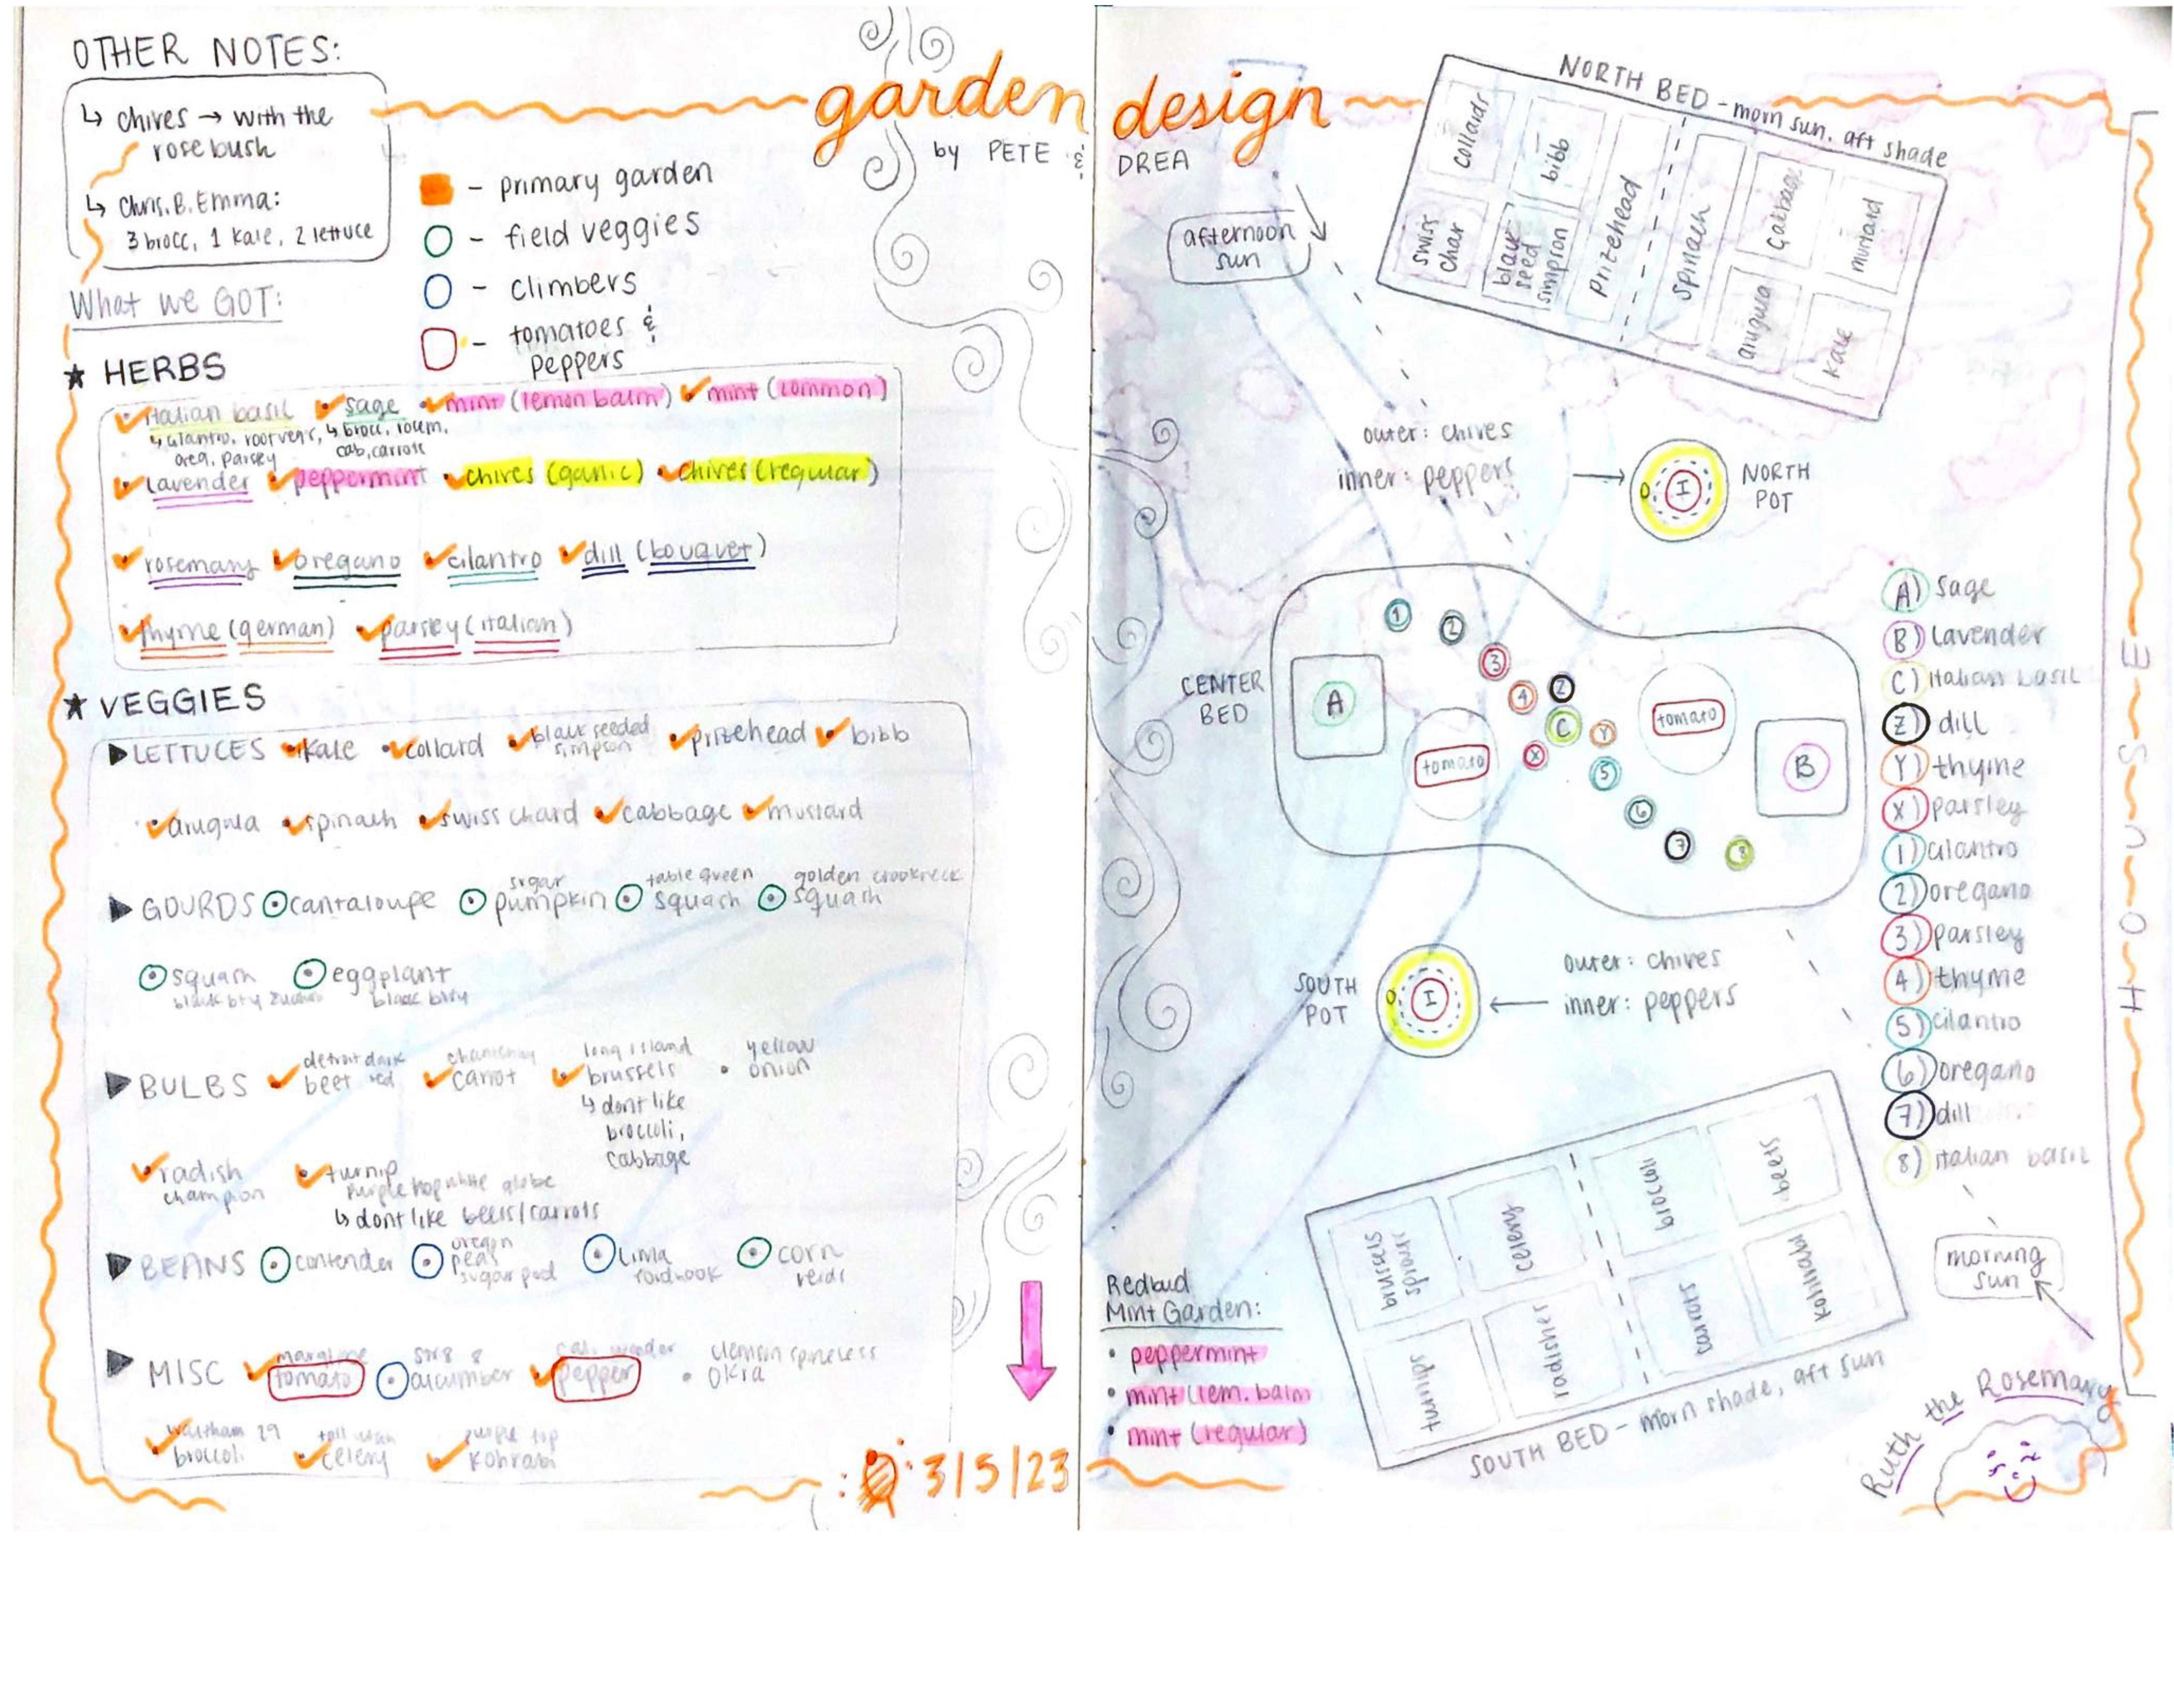
North Bed Lettuces
The following are the lettuces we planted and have successfully cultivated:
- Swiss Char
- Collards
- Black Seed Simpson
- Bibb
- Prizehead
- Spinach
- Arugula
- Cabbage
- Kale
- Mustard
All of our lettuces have grown so much, we are overwhelmed.
South Bed Root Veggies
The following are the root veggies we planted and have (mostly) successfully cultivated:
- Turnips
- Brussel Sprouts
- Radishes
- Celery – not super successful… still waiting on them to come up from sprout level
- Carrots
- Broccoli
- Kohlrabi
- Beets
The radishes have been delicious, albeit small; and the turnips have also been small, but plentiful. Broccoli’s gotten tall but flowering.
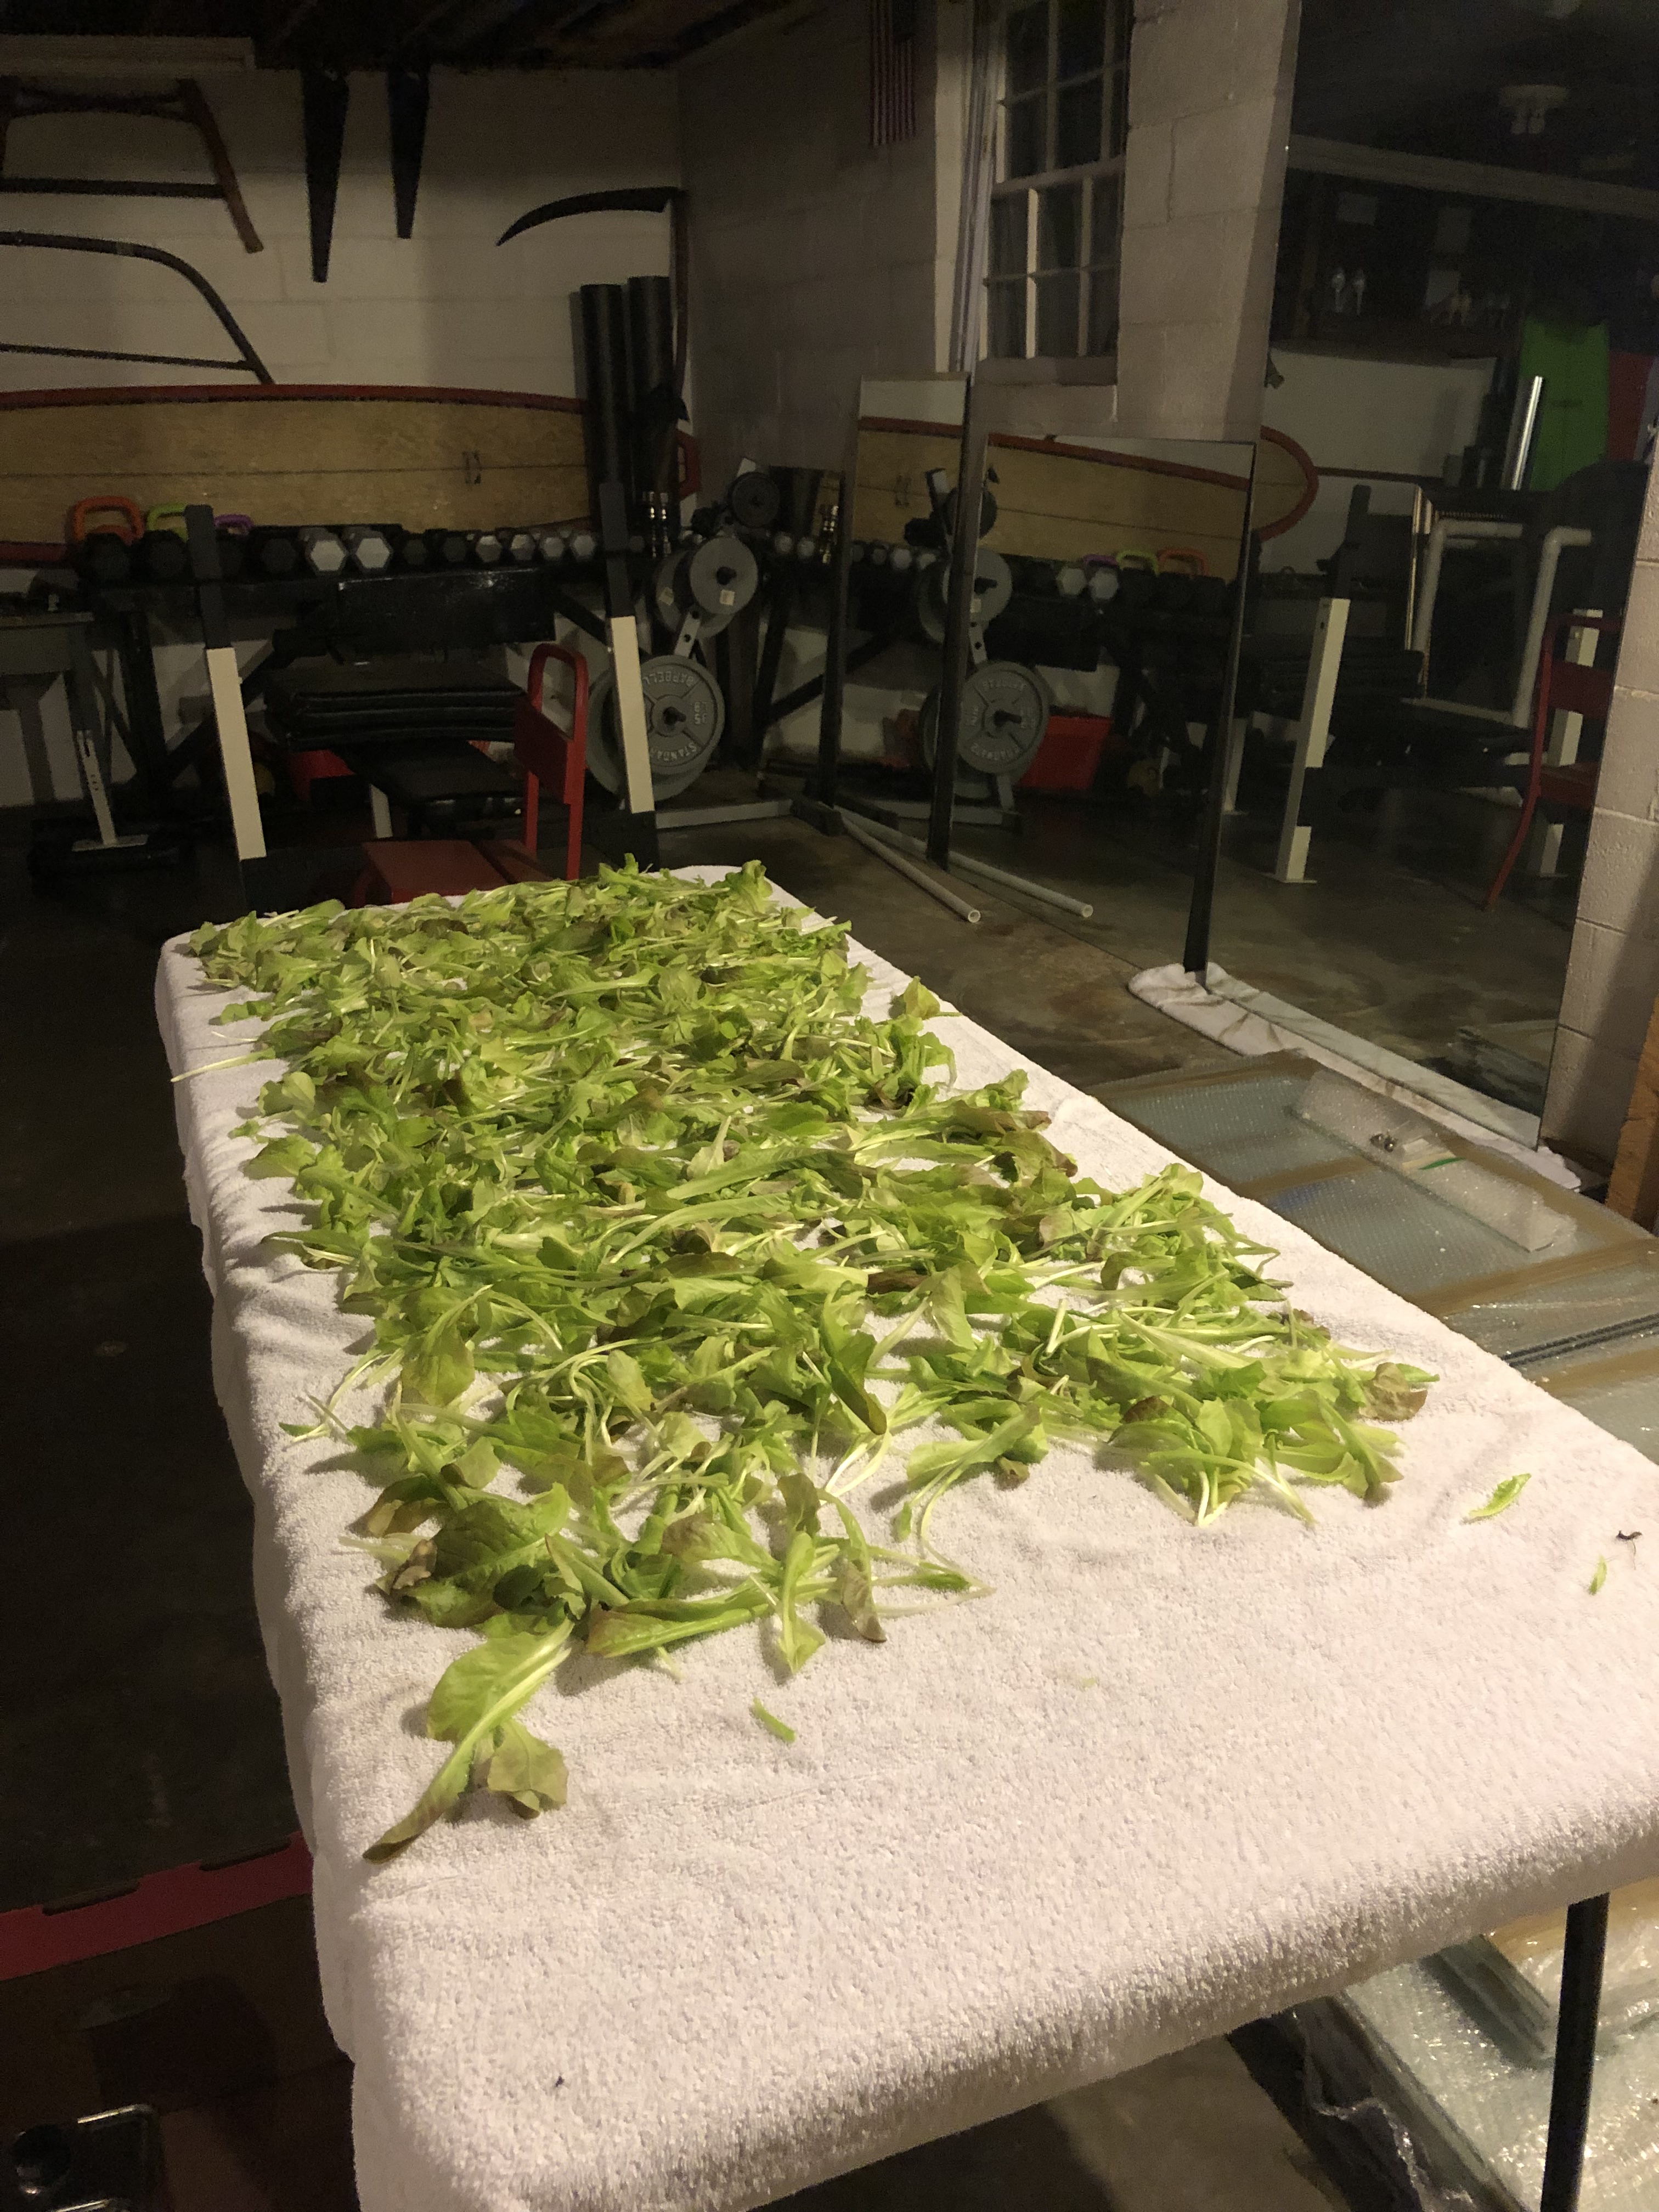
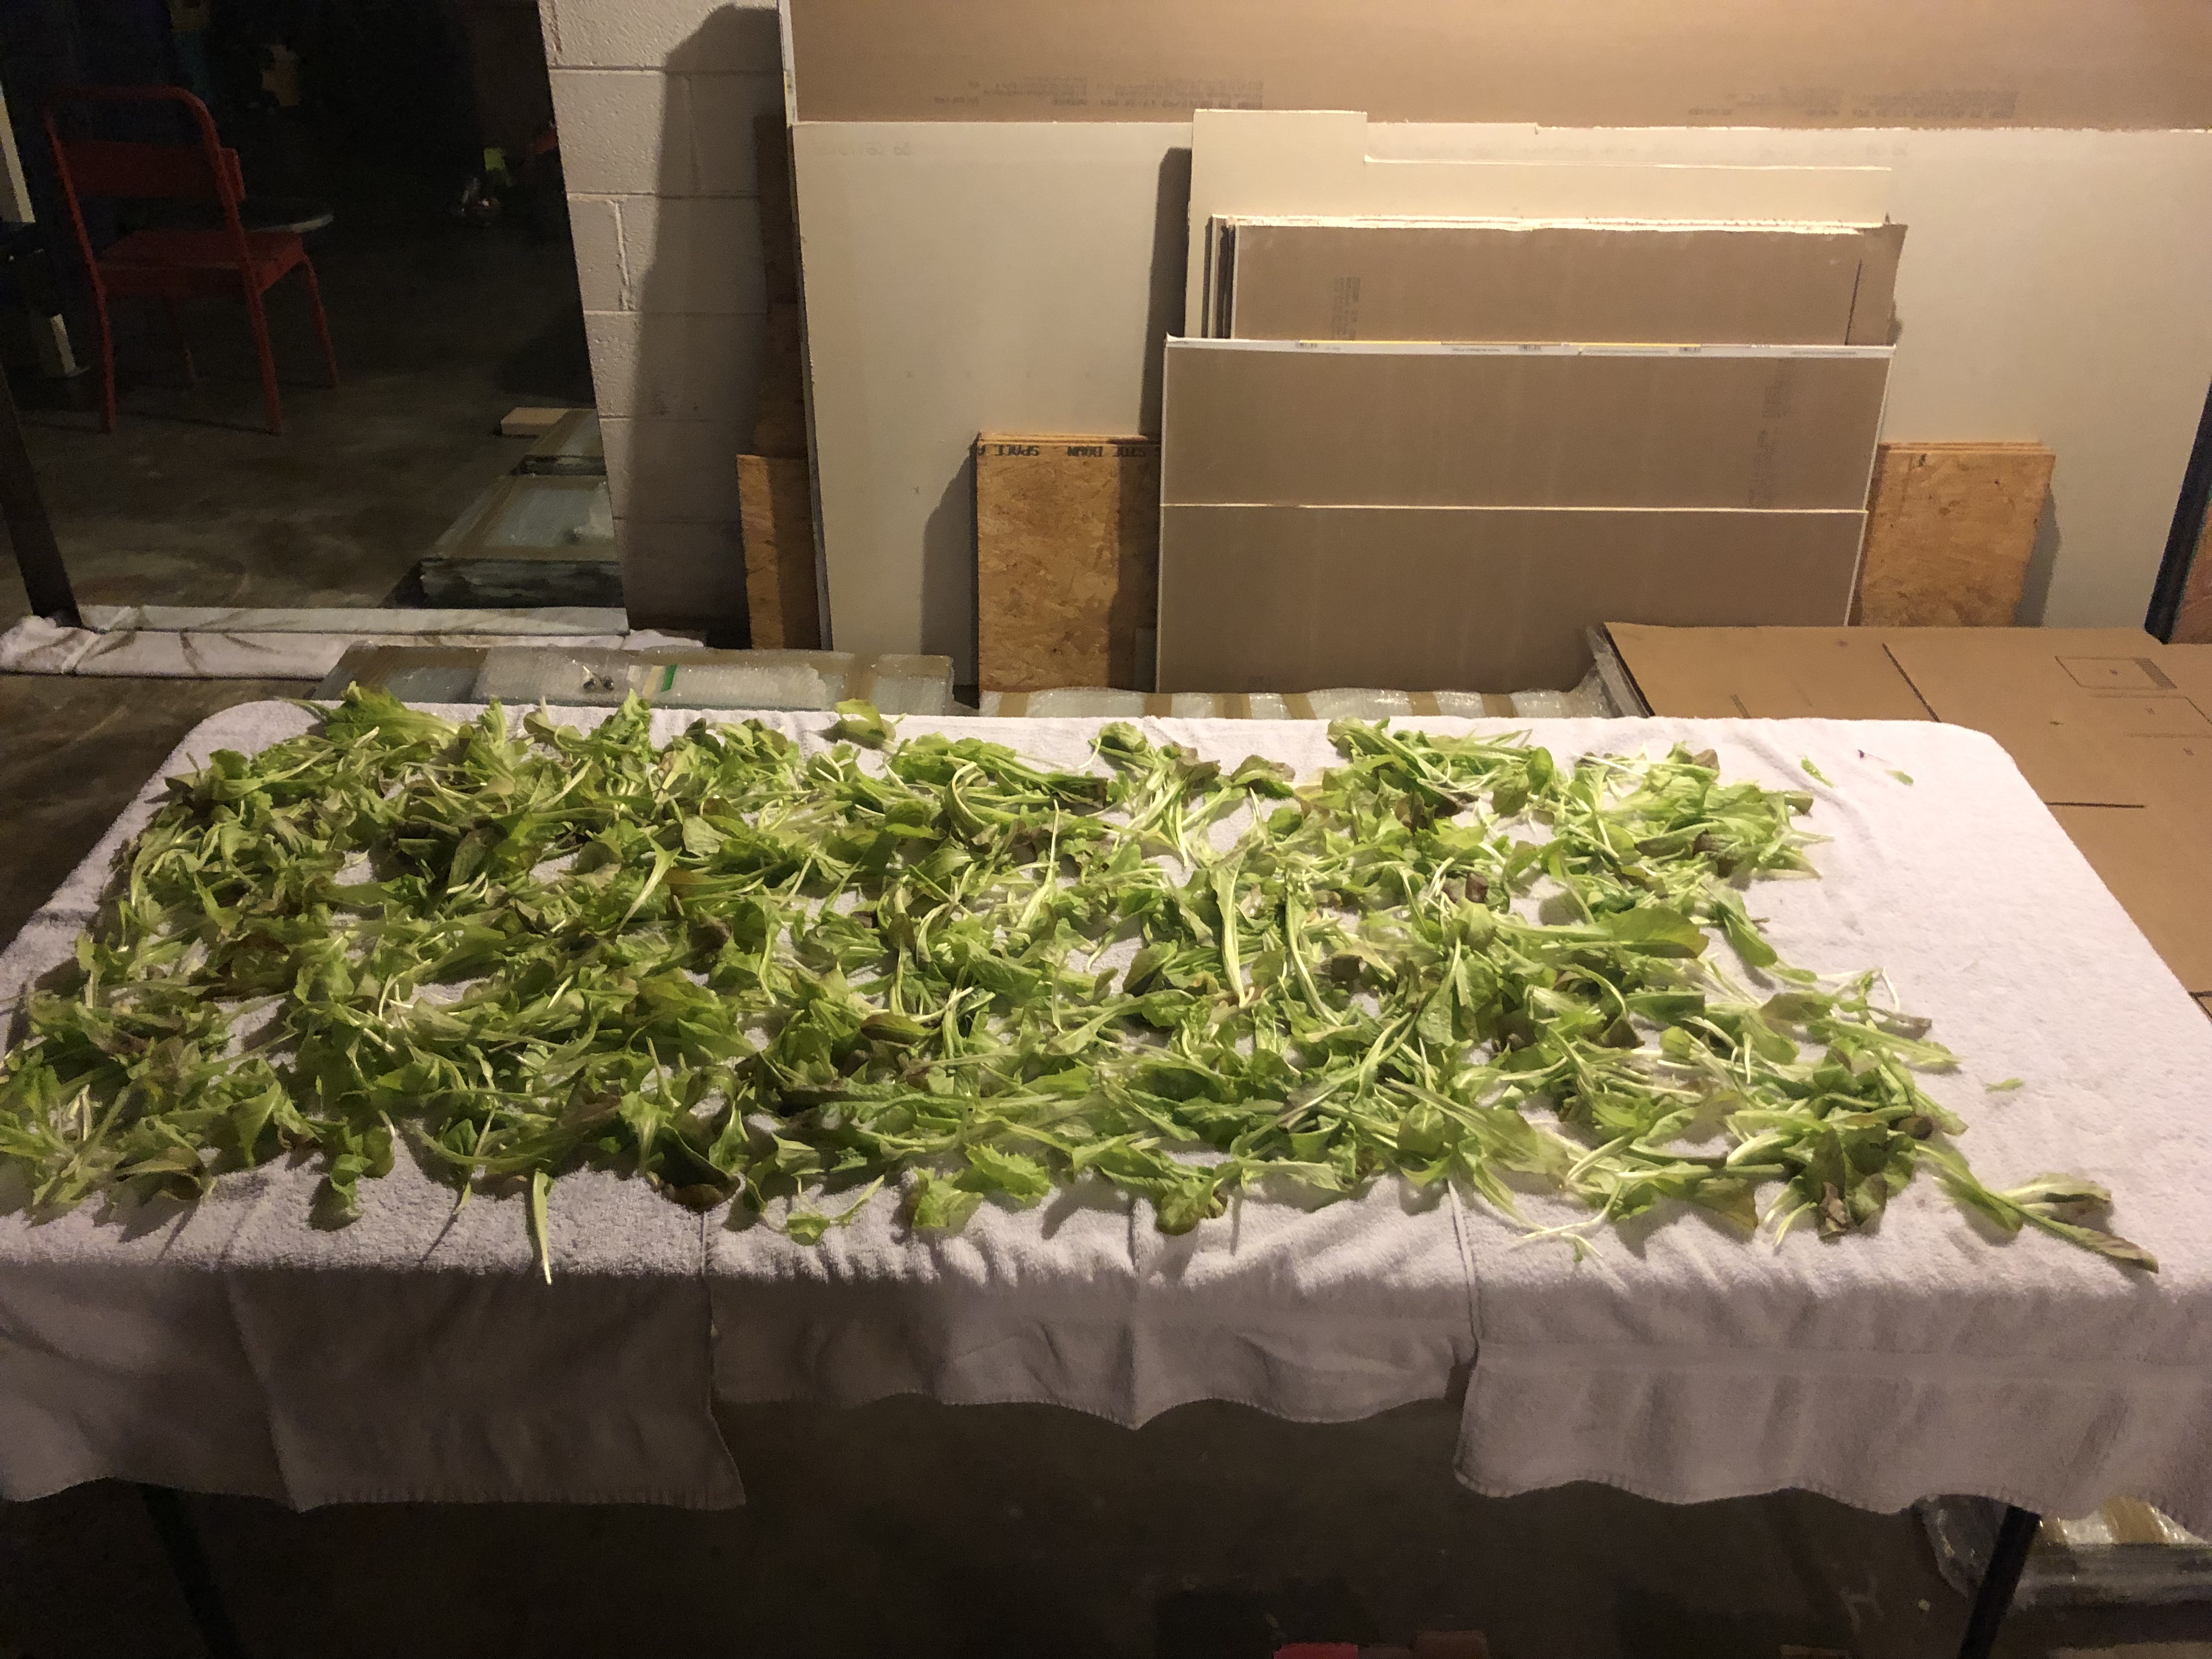
The lettuce pictured below is ALL prizehead lettuce. The difference that you see from image to image is (a little bit less than the total of) how much lettuce we consumed in one sitting via smoothies. Wild. Polaroids for size reference, lol.

Why the design?
We decided to place the garden beds in a circle design for two reasons: 1) because they look cool that way, and 2) because they maximize the use of the sun in this particular space.
Hope you enjoyed reading a bit into our process of setting up these garden beds. They’ve been some hard work! But I’m so glad to say that I eat leafy greens out the wazoo, even more than I used to, and that we’re cultivating our own food – such a rarity in our society these days, and such a privilege.

Leave a comment